Two months ago I lost our $20.00 doggie pickup bag holder - one which you could latch onto a belt loop for a walk. After contemplating buying another - I simply decided to make one! Here is a tutorial I designed after making about five-seven samples. I think you will like it and the materials should just cost a few dollars, if that! This project can be completely made from reused materials and dog leashes if you wish.

cord or ribbon (4" to 6" total)
1/4" elastic (about 10 inches total
1. Cut out a fabric piece 9 inches by 5 inches. My bag I lost was 9" by 6". This is a matter of personal preference.

For this project, I used weather-proof Gore-tex bought from Seattle Fabrics out of my stash because I've been making some outdoor adventure items. However, one could use canvas, a heavy weight fabric or simply some rip-stop, or supplex. To be honest any material is a candidate.


If you wish to hem the top and bottom edges of the doggies bag - this would be the time. You want to finish (or "hem") the long length of the fabric (the 9" part) first and merely edge finish or serge the shorter (5" part) if this is your preference.
For the top hems, I recommend serging (perhaps a rolled edge) OR I did a 1/8" hem on my previous project by folding the material and sewing it. I believe a 1/4" hem should work too! Again, for this project I did not hem it as this material does not fray.
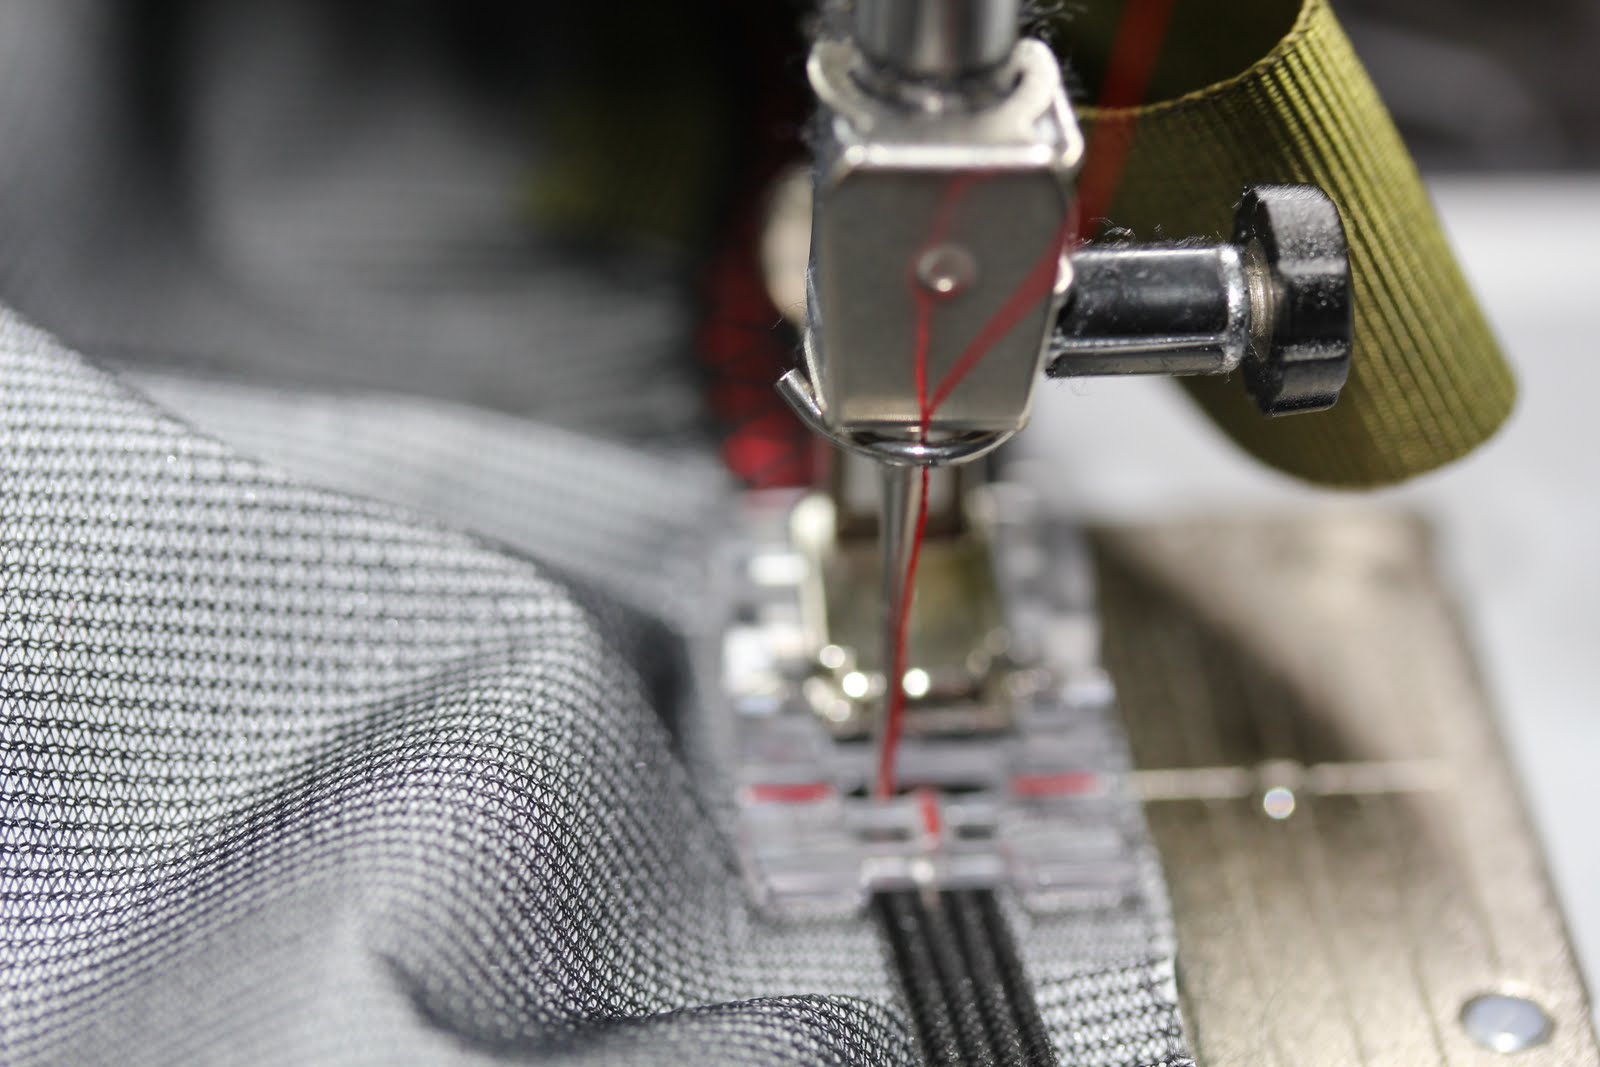
2. The tab attachment.


I placed my ribbon 1/2 inch from the end of the long length of the fabric (well, the pictures shows 1" here) and I used a pin to secure.


3. Now cut your elastic. This is a matter of preference because my project is 9"; I used a slim 1/4" black elastic. Any elastic will suffice. I cut the elastic for the top of the long length (9 inches if you remember) - to be 4 1/2" and for the bottom long length - 4 1/4". This allows you to push the doggie bags in a slighter larger hole at the top and slimmer hole at the bottom.


4. Finishing and the fun part.
Note: If you have not finished the edges on the short 5" edge and you wish to do so - please do - I did not as this material doesn't fray.
Put the short sides (the 5") sides of the fabric right sides together and stitch 3/8" from the edge.

5. You're done! Turn inside out and attach a carabiner or any other clip and out you go with the doggies.


9 comments:
What a great idea!
Thanks! I've been having a ball making these! And so easy - I can't believe I bought the original for 20.00.
You're so smart and innovative!
Love the poke holder! i am exploitation Feebly, and you are already in it as a result of I migrated all of my feeds from Google Reader. it's formally changed to the Feebly Cloud, therefore i am sensible to travel. handbag holderAs for foundation piecing, I prefer using a freezer paper method because I can reuse the foundations as many as ten times.You are so creative and genius! These are so cute! It was great shopping with you a bit. I'm glad you were able to make it down.
Gracias me es muy util
Gracias me es muy util
De nada! Gracias!!
Thank you so much for your reply and for some reason I didn't see it -- I'll definitely check out your ideas!
Really you blog have very interesting and very valuable information about the Dog poop carrier.
Dog poop carrier
Post a Comment